The Analytical Logic of Free Body Diagrams
In the rigorous discipline of engineering statics , the ability to translate a complex physical assembly into a simplified mathematical model is the hallmark of a skilled practitioner. This...
In the rigorous discipline of engineering statics, the ability to translate a complex physical assembly into a simplified mathematical model is the hallmark of a skilled practitioner. This translation is achieved through the free body diagram (FBD), a graphical representation used to visualize the external forces and moments acting on a body in mechanical equilibrium. By stripping away the environment and replacing it with equivalent vector quantities, engineers can apply the laws of Newtonian mechanics to solve for unknown reactions, internal stresses, and structural stability. The FBD is not merely a sketch; it is a logical abstraction that serves as the essential precursor to any quantitative force analysis.
Isolating the System for Force Analysis
The first and most critical step in constructing a free body diagram is the deliberate isolation of the system of interest from its surroundings. This process requires the engineer to define a system boundary, an imaginary envelope that encapsulates the object or collection of objects to be analyzed. By mentally "cutting" the connections between the body and its environment, one can clearly identify where external influences act upon the system. This isolation ensures that internal forces—those acting between particles within the defined boundary—are excluded from the equilibrium equations, as they cancel out according to Newton's Third Law of motion.
Once the boundary is established, the analyst must categorize the influences crossing that boundary into active forces and reactive forces. Active forces are those that initiate motion or cause deformation, such as gravity, wind loads, or applied weights, while reactive forces are those generated by supports to resist such motion. For example, in a bridge truss, the weight of a vehicle is an active load, whereas the upward push of the concrete abutments constitutes the reactive forces. Understanding this distinction is vital because it determines which vectors are known constants and which are the unknown variables that the subsequent mathematical analysis must resolve.
Furthermore, forces must be classified by their physical nature, specifically distinguishing between contact forces and field forces. Contact forces occur at the points where the system boundary intersects physical connections, such as bolts, cables, or surfaces in friction. In contrast, field forces act through space without physical contact, with gravity being the most ubiquitous example in terrestrial engineering. Every mass within the system boundary experiences a gravitational pull acting through its center of gravity, and failing to include this non-contact force is a frequent source of error in elementary statics. Properly mapping these forces ensures that the diagram is a complete representation of the physical reality.
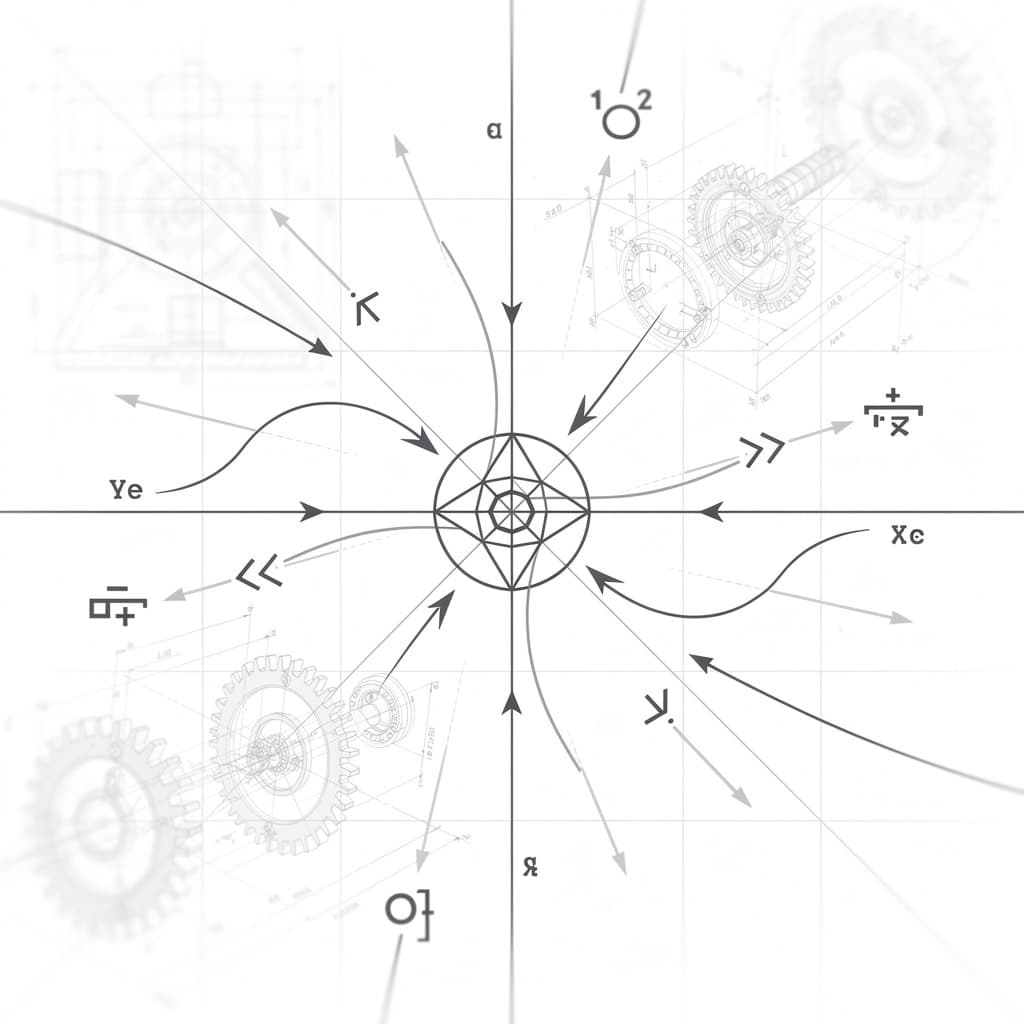
Geometric Precision in Vector Visualization
The utility of a free body diagram depends heavily on the precision of its geometric representation, specifically the selection of a coordinate system. Engineers typically choose between a global coordinate system, which remains fixed relative to the earth, and a local coordinate system, which may be aligned with the principal axis of a tilted member. For instance, when analyzing a block on an inclined plane, aligning the $x$-axis parallel to the slope significantly simplifies the resulting equations by ensuring that the normal force and friction force align with the primary axes. This strategic choice of orientation reduces the complexity of vector mechanics by minimizing the need for trigonometric decomposition.
Visualizing external loads and concentrated moments requires an accurate depiction of their points of application. In a rigid body analysis, the exact location of a force is paramount because it dictates the moment arm, which is the perpendicular distance from a reference point to the line of action of the force. A force of $100$ Newtons applied at the end of a lever creates a vastly different rotational effect than the same force applied near the fulcrum. Consequently, an FBD must include relevant dimensions and angles, as these geometric parameters are the coefficients in the torque or moment equations that govern rotational balance.
While an FBD does not need to be a perfect architectural rendering, it must maintain a logical scale and orientation to avoid cognitive errors during analysis. If a force is acting at $30$ degrees to the horizontal, drawing it at an approximately correct angle helps the engineer verify that the horizontal and vertical components calculated later are physically plausible. This visual "sanity check" is a defensive engineering practice that helps catch sign errors or incorrect trigonometric functions (such as using sine instead of cosine) before they propagate through complex calculations. A well-drawn diagram bridges the gap between the physical intuition of the designer and the cold logic of the mathematics.
Constraints within Engineering Statics
In engineering statics, the way a body is supported determines the types of reactive forces it can develop, a concept known as mechanical constraints. Different physical connections allow or restrict various degrees of freedom, and the FBD must reflect these restrictions accurately. A pin connection (or hinge), for example, prevents translational motion in any direction but allows rotation; therefore, it is modeled with two unknown force components, usually $R_x$ and $R_y$, but no reactive moment. In contrast, a fixed support (such as a beam encased in a concrete wall) restricts both translation and rotation, requiring the inclusion of two force components and a reactive moment $M_r$.
Surfaces and rollers present a different set of constraints characterized by normal forces. When a body rests on a smooth, frictionless surface, the surface can only exert a force perpendicular (normal) to itself, as there is no resistance to sliding. If the surface is rough, a friction force must be added parallel to the surface, acting in a direction that opposes the potential or actual relative motion. Engineers must be careful to model these interactions correctly, as assuming a surface is frictionless when it is not—or vice versa—will lead to an incorrect calculation of the resultant forces and potentially a structural failure.
Tension mechanics in cables and pulleys constitute another fundamental constraint category. A flexible cable can only support a tensile force directed along its own longitudinal axis; it cannot support compression or a shear force. When a cable passes over a frictionless pulley, the magnitude of the tension remains constant throughout the cable's length, although its direction changes to follow the cable's path. Representing these tensions in an FBD requires cutting the cable and replacing it with a vector $T$ pulling away from the body. Mastering these standard support models allows the engineer to replace physical hardware with the correct mathematical constraints quickly and reliably.
Achieving Mechanical Equilibrium
The ultimate goal of drawing a free body diagram is to satisfy the conditions of mechanical equilibrium. For a rigid body in two dimensions, equilibrium is defined by three independent scalar equations derived from Newton's Second Law, where acceleration is set to zero. These equations state that the sum of all forces in the $x$-direction must be zero, the sum of all forces in the $y$-direction must be zero, and the sum of all moments about any arbitrary point $P$ must be zero. Mathematically, this is expressed as:
$$\sum F_x = 0$$
$$\sum F_y = 0$$
$$\sum M_P = 0$$
Calculating the resultant forces involves the vector addition of all active and reactive components identified in the FBD. If the sum of these vectors does not equal zero, the body is not in statics but is instead undergoing acceleration, moving the analysis into the realm of dynamics. The moment equation is particularly powerful because it allows the analyst to eliminate unknown forces from the calculation strategically. By summing moments about a point where one or more unknown forces act, those forces' moment arms become zero, effectively removing them from that specific equation and allowing for the direct solution of other unknowns.
The logic of Newton's Second Law in statics extends to three-dimensional systems as well, though the complexity increases to six equations of equilibrium: three for translation and three for rotation about the $x$, $y$, and $z$ axes. In these complex scenarios, the FBD becomes even more critical for tracking the spatial relationship between forces and axes. The diagram ensures that every force is accounted for and that the signs (positive or negative) are consistent with the chosen coordinate system. Without the visual framework of the FBD, the risk of "losing" a force or misapplying a direction in the algebraic summation becomes unacceptably high in professional engineering practice.
Synthesis of Free Body Diagram Examples
To understand the practical application of these principles, consider the analysis of stationary structural trusses, such as those used in roof supports or pedestrian bridges. In a truss analysis, the engineer often creates multiple FBDs: one for the entire structure to find global reactions, and then individual FBDs for each joint or section. By isolating a single joint, the internal forces of the members are treated as external forces acting on that joint. This "Method of Joints" relies on the fact that if the entire truss is in equilibrium, every individual component and connection within it must also be in equilibrium.
Another classic example involves load distribution on inclined planes, a scenario common in the design of ramps, conveyor belts, and roadway embankments. Here, the gravitational force $W$ acts vertically downward, but the interaction with the surface is best analyzed by decomposing $W$ into two components: one perpendicular to the plane ($W \cos \theta$) and one parallel to the plane ($W \sin \theta$). The FBD clearly shows that the normal force $N$ must balance $W \cos \theta$, while the friction force $f$ or an applied tension $T$ must balance $W \sin \theta$. This decomposition is a perfect demonstration of how a well-constructed diagram guides the mathematical setup.
In multi-body systems, such as a pair of connected gears or a series of pinned beams, the FBD of each component must respect the principle of action and reaction. If Body A exerts a force on Body B at a specific connection point, the FBD for Body B must show that force, while the FBD for Body A must show an equal and opposite force at the same location. This internal consistency is what allows for the analysis of complex machinery. By systematically breaking the machine down into its constituent parts and drawing an FBD for each, the engineer can trace the load path from the point of application to the final ground supports.
Mathematical Resolution of Forces
The transition from a visual free body diagram to a solvable system of equations requires the decomposition of vectors into their Cartesian components. Most forces in real-world applications do not align perfectly with the $x$ and $y$ axes. Using basic trigonometry, a force $F$ acting at an angle $\theta$ relative to the $x$-axis is resolved into $F_x = F \cos \theta$ and $F_y = F \sin \theta$. These components are then substituted into the equilibrium equations. This step is where the geometric precision of the initial sketch pays off, as the analyst can visually verify the quadrant and direction of each component.
For systems involving non-orthogonal forces or complex three-dimensional geometries, engineers often employ vector algebra or the Law of Sines and Law of Cosines. When three forces act on a single point in equilibrium, they form a closed force triangle, allowing for the calculation of unknown magnitudes if the directions are known. In 3D space, forces are represented using unit vectors ($\mathbf{i, j, k}$), and the position vectors ($\mathbf{r}$) are used to calculate moments via the cross product ($\mathbf{M} = \mathbf{r} \times \mathbf{F}$). This rigorous mathematical approach ensures that even the most spatially complex systems can be resolved with high precision.
Determining unknown support variables often results in a system of linear equations. If a system is statically determinate, the number of independent equilibrium equations matches the number of unknown reactions, allowing for a unique solution. However, if there are more unknowns than equations, the system is statically indeterminate, and the FBD must be supplemented with information about the material's deformability (compatibility equations). Even in these advanced cases, the FBD remains the foundational "accountkeeping" tool that ensures every force is identified before more complex material science principles are applied.
Advanced Applications in Structural Design
The logic of the FBD extends beyond external equilibrium into the study of internal forces and material integrity. By "cutting" a beam at an arbitrary point and drawing a free body diagram of the remaining segment, engineers can reveal the internal shear forces and bending moments required to maintain equilibrium at that section. This is the basis for creating shear and moment diagrams, which are essential for determining where a beam is most likely to fail. Understanding these internal distributions allows designers to optimize material usage, placing more strength where the internal loads are highest.
In structural design, modeling complex boundary conditions often requires an iterative use of FBDs. For instance, in soil-structure interaction, a foundation may be modeled as resting on a bed of springs (the Winkler model), where the reactive force is proportional to the displacement. The FBD in this case involves a distributed load rather than a point reaction. Similarly, in aerospace engineering, the FBD of an aircraft wing must account for aerodynamic lift distributed over the surface, which is modeled as a resultant force acting through the center of pressure. These advanced applications demonstrate the flexibility of the FBD as a modeling tool.
Ultimately, the free body diagram is the primary cognitive tool that allows an engineer to move from a qualitative understanding of a problem to a quantitative solution. Whether designing a simple bracket, a towering skyscraper, or a high-performance turbine blade, the logic of isolating the body, identifying the constraints, and balancing the forces remains the same. By adhering to the analytical rigor of the FBD, engineers ensure that their designs are not only functional but also safe, predictable, and grounded in the fundamental laws of the physical universe.
References
- Hibbeler, R. C., "Engineering Mechanics: Statics", Pearson, 2022.
- Meriam, J. L., & Kraige, L. G., "Engineering Mechanics: Statics", Wiley, 2014.
- Beer, F. P., Johnston, E. R., Mazurek, D. F., & Cornwell, P. J., "Vector Mechanics for Engineers: Statics and Dynamics", McGraw-Hill Education, 2018.
- Ruina, A., & Pratap, R., "Introduction to Statics and Dynamics", Oxford University Press, 2011.
Recommended Readings
- Structures: Or Why Things Don't Fall Down by J.E. Gordon — An incredibly accessible and witty exploration of the history and logic of structural engineering that provides deep intuition for force paths.
- The Science of Structural Engineering by Jacques Heyman — This text provides a historical perspective on how the laws of statics were developed and applied to monumental architecture.
- Theory of Vibrations with Applications by William T. Thomson — For those wishing to see how the logic of free body diagrams extends into dynamic systems and oscillating structures.
- Statics and Strength of Materials by Harold Morrow and Robert Kokernak — A practical guide that emphasizes the transition from the FBD to internal stress analysis for design purposes.